April 29th, 2026
New Feature
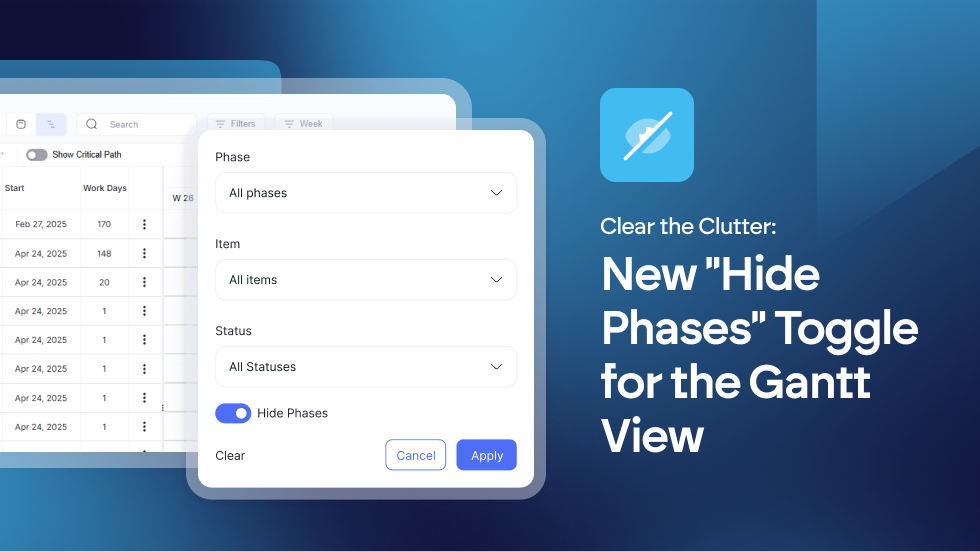
To help you focus on the work that matters most, we’ve added a new Hide Phases toggle to your Gantt View filters.
Hide Phases Toggle: A new filter option in the Gantt View to remove phase rows from the display.
UI Enhancement: Increased vertical screen real estate for schedule items by hiding non-essential headers.
With one click, you can collapse all phase headers, removing the vertical bulk and leaving you with a streamlined list of actionable items.
Find out more about using the Gantt View in our Knowledge Base article: https://support.builderpad.com/en/help/articles/1776348-using-the-gantt-view
April 27th, 2026
Improvement
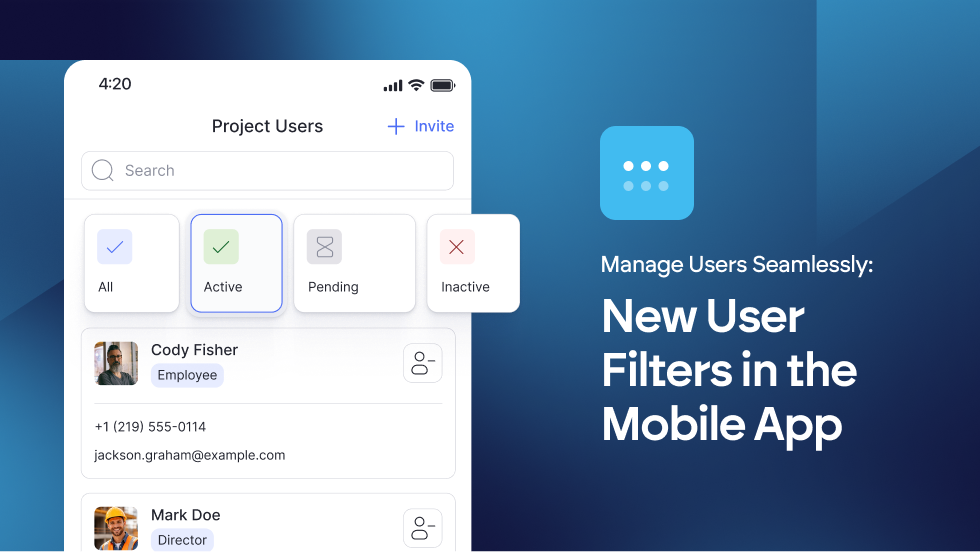
Managing your project team on the go just got a whole lot cleaner. We’ve added intuitive Filter Tabs to the Users section of the BuilderPad mobile app.
Now, you can instantly toggle between All, Active, Pending, and Inactive users with a single tap.
Whether you’re checking who has accepted their invite or managing permissions from the field, managing user permissions is now faster than ever.
Learn more about managing User Permissions at → https://support.builderpad.com/en/help/articles/2328963-managing-users
April 22nd, 2026
Improvement
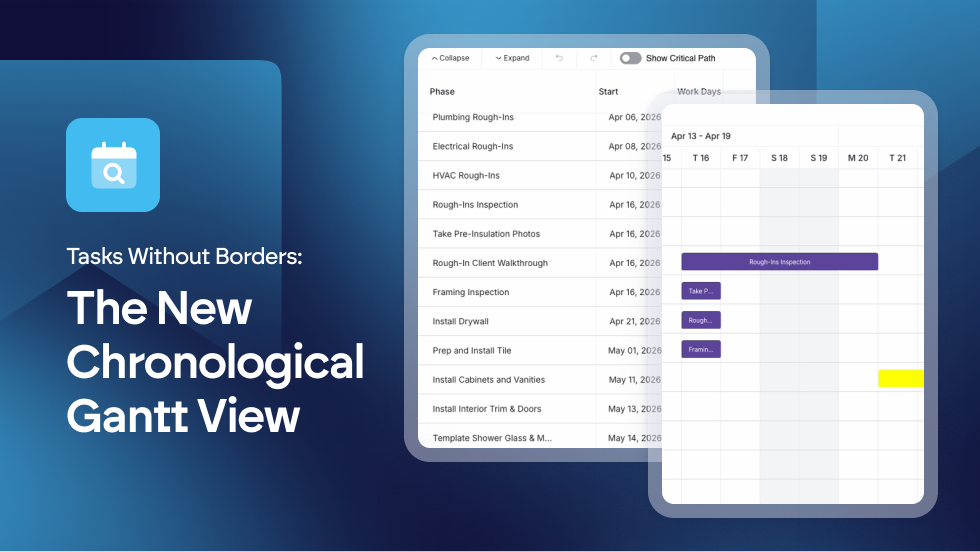
We’ve introduced a new way to visualize your work. You can now view all schedule items in a single, seamless chronological list, completely independent of their phases.
This global view treats your project as one continuous flow, allowing you to see exactly what comes next across the entire build without being interrupted by phase headers.
Unified Chronological View: New display mode allows schedule items to be viewed in a global list, independent of phase groupings.
Logic-Based Sorting: Improved the Gantt visualization to prioritize date-driven flow for better conflict detection.
By removing phase boundaries, you can spot overlaps and scheduling gaps instantly. It’s the ultimate big picture view for builders who need to know exactly what’s happening on-site today, tomorrow, and next week, regardless of which phase the task belongs to.
Find out more about using the Gantt View in our Knowledge Base article: https://support.builderpad.com/en/help/articles/1776348-using-the-gantt-view
March 17th, 2026
New Feature
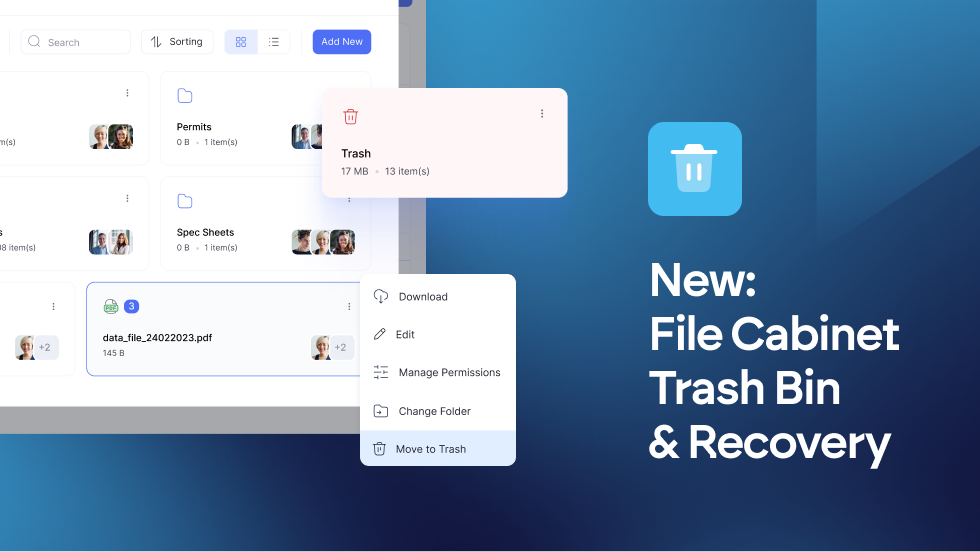
Deleted files and folders are no longer gone in an instant. Instead, they’ll move to a temporary holding area where they’ll stay safe for 30 days.
This gives you a month to restore anything that was tossed by mistake or permanently clear out the clutter when you're certain it’s no longer needed.
Safety Net: Deleted files and folders are now moved to a Trash Bin instead of being immediately erased.
30-Day Retention: Items remain in the Trash Bin for 30 days before being permanently purged by the system.
Restore Functionality: Easily restore accidentally deleted documents back to their original location via the 3-dot menu.
Manual Purge: Users can now choose to "Delete Permanently" from within the Trash Bin for immediate removal.
It’s a small change that makes a massive difference in how you manage your project documents. No more lost work - just a smarter, safer way to keep your File Cabinet organized.
Find out more about your File Cabinet options at → https://feedback.builderpad.com/en/help/articles/6412811-how-to-use-the-file-cabinet
March 11th, 2026
Improvement
We have some exciting news to share!
We’ve officially moved BuilderPad to a new, high-performance backend model that will improve your Activity Feed usage drastically.
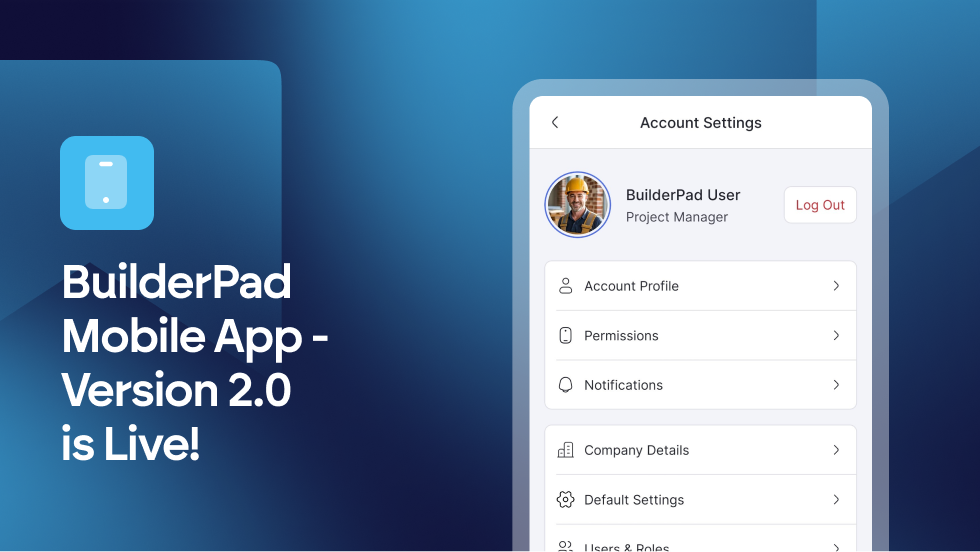
To take full advantage of these speed and reliability improvements, please update to the latest Version 2.0 of the BuilderPad mobile app immediately.
⚠️ Action Required:
UPDATE YOUR BUILDERPAD MOBILE APP
To maintain access and experience the new speed improvements, please complete the following:
Update to V2 on Mobile: Visit the App Store or the Google Play Store and download the latest version of the BuilderPad app.
Clear Web Cache: If you are using the desktop version, please clear your browser cache to ensure the new backend loads correctly.
Legacy versions of the app (V1) are no longer supported.
📘 Why the change?
By moving to V2, you’ll experience significantly faster load times and a more responsive Activity Feed, allowing you to manage your projects with zero friction.
Stay tuned for more amazing updates, and find out more about our features in the Product Updates and Help Center sections within your app.
Thank you for being a valued BuilderPad customer. We’re committed to providing the fastest tools in the industry to help you build better.
March 10th, 2026
Improvement
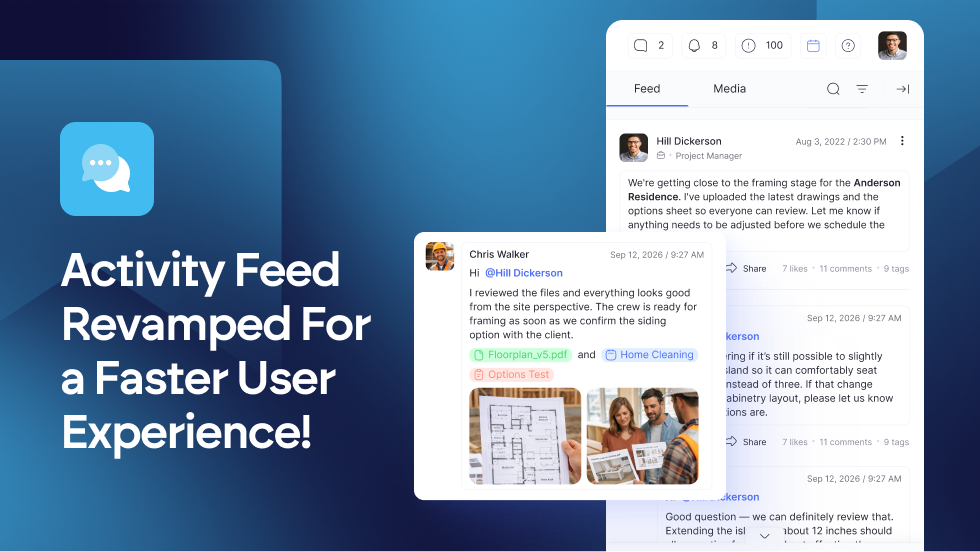
We’ve completely overhauled the Activity Feed and ensured it runs smoother and faster than ever before!
While you’ve been busy building on-site, our team has been under the hood, performing massive backend optimizations to ensure your project updates load with near-instant speed.
Backend Infrastructure Overhaul: Significant server-side optimizations to reduce latency and improve data retrieval speeds.
Enhanced Performance: Experience near-instant loading times, even for projects with extensive histories and high activity volumes.
Optimized Scrolling: Smoother transitions and faster rendering of real-time updates across the platform.
Navigating through project milestones, comments, and updates now feels fluid and effortless. No more waiting for data to fetch, just the information you need, exactly when you need it.
This isn't just a minor tweak; it’s a high-performance engine for your project communications. Experience a faster, snappier, and more reliable way to stay in the loop with BuilderPad.
February 16th, 2026
New Feature
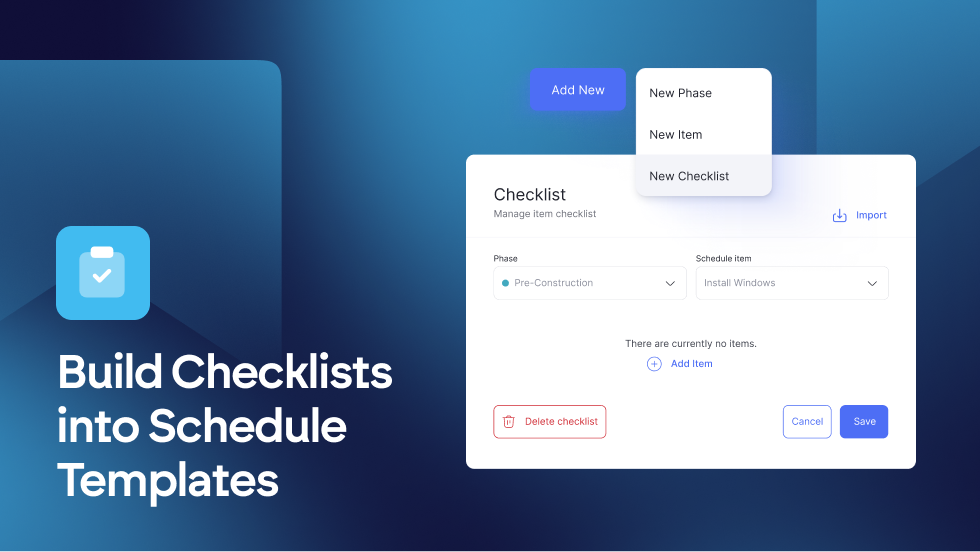
We’ve expanded our Schedule templating capabilities!
You can now add and manage checklists directly within your Schedule Templates.
By including these in your Default Settings, any project created from a template will automatically include the necessary checklists.
Saving you time and ensuring project consistency from day one!
View our step-by-step guide at → https://support.builderpad.com/en/help/articles/1268624-how-to-add-checklists-to-schedule-templates
February 15th, 2026
New Feature
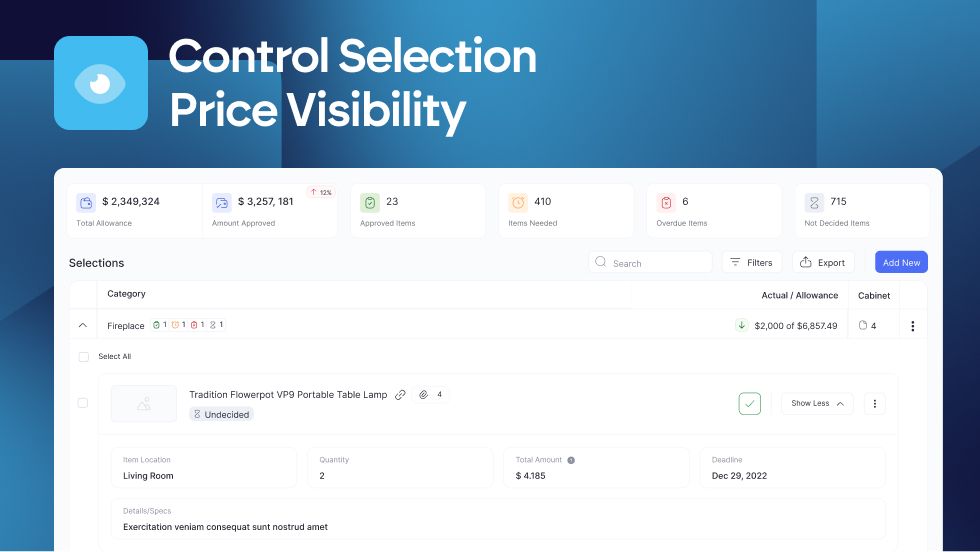
We’ve added a new granular permission called “Show item cost” within the Users and Roles settings.
Admins can now toggle this setting to show or hide the "Amount" field on selection items.
This update allows for better privacy management and customized views across different user roles.
View the step-by-step guide at → https://support.builderpad.com/en/help/articles/4134099-how-to-show-or-hide-selection-item-prices
February 15th, 2026
New Feature
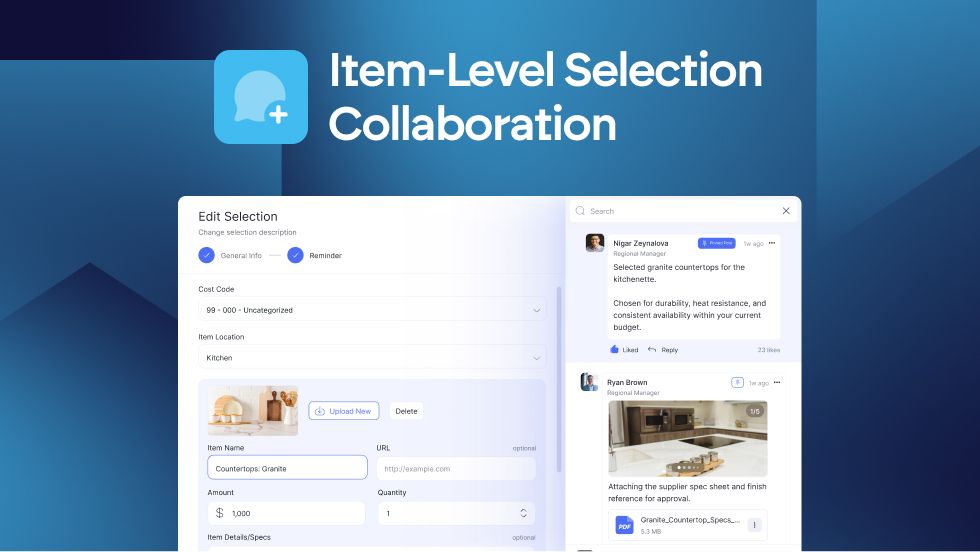
Collaboration is now available at the item level for all Selections.
Users can now post comments, ask questions, and share updates within the specific selection item's activity feed.
To keep everyone in the loop, these item-level interactions are automatically referenced in the main project activity feed, providing a unified view of project progress.
Check out how you can use the Selection Item Collaboration feature at → https://support.builderpad.com/en/help/articles/8911499-how-to-collaborate-on-a-selection-item
February 14th, 2026
New Feature
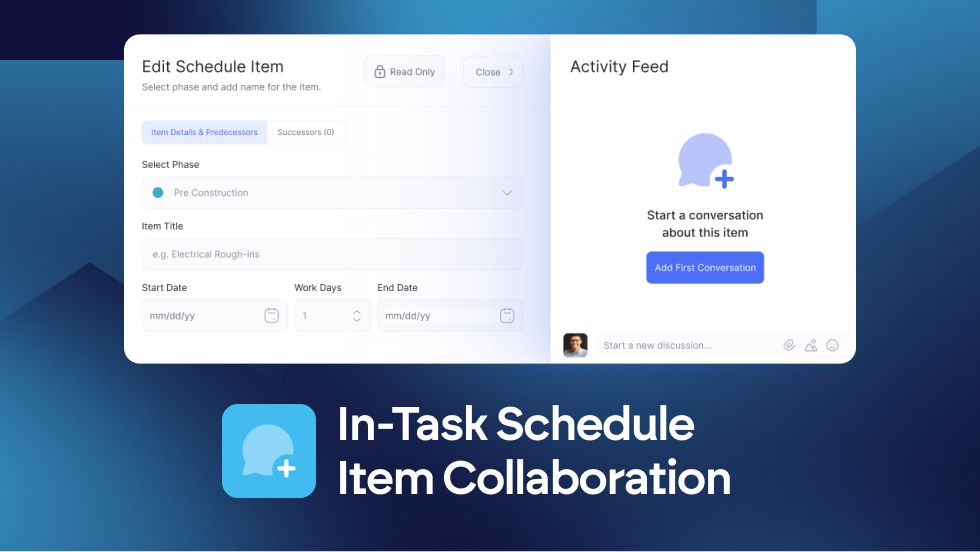
We’ve introduced a powerful new way to collaborate on your project timelines. You can now start discussions directly within a Schedule Item.
This update includes a new dual-column "Edit Item" modal where you can manage task details on the left and participate in a dedicated activity feed on the right.
Any new posts or comments made within an item will also be referenced in the main project feed for full visibility.
Find out more about Collaborating within Schedule Items at → https://support.builderpad.com/en/help/articles/8797174-schedule-item-collaboration