How to Import a Schedule Template
Streamline your project setup by importing pre-defined schedules directly into BuilderPad. This guide walks you through navigating the settings and preparing your data for a seamless import.
Written By Stefan S.
Last updated 5 months ago
Step 1: Navigate to Schedule Templates
To begin the import process, you need to access your organization's template library:
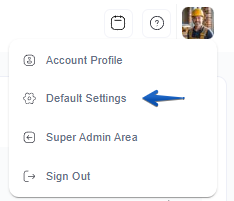
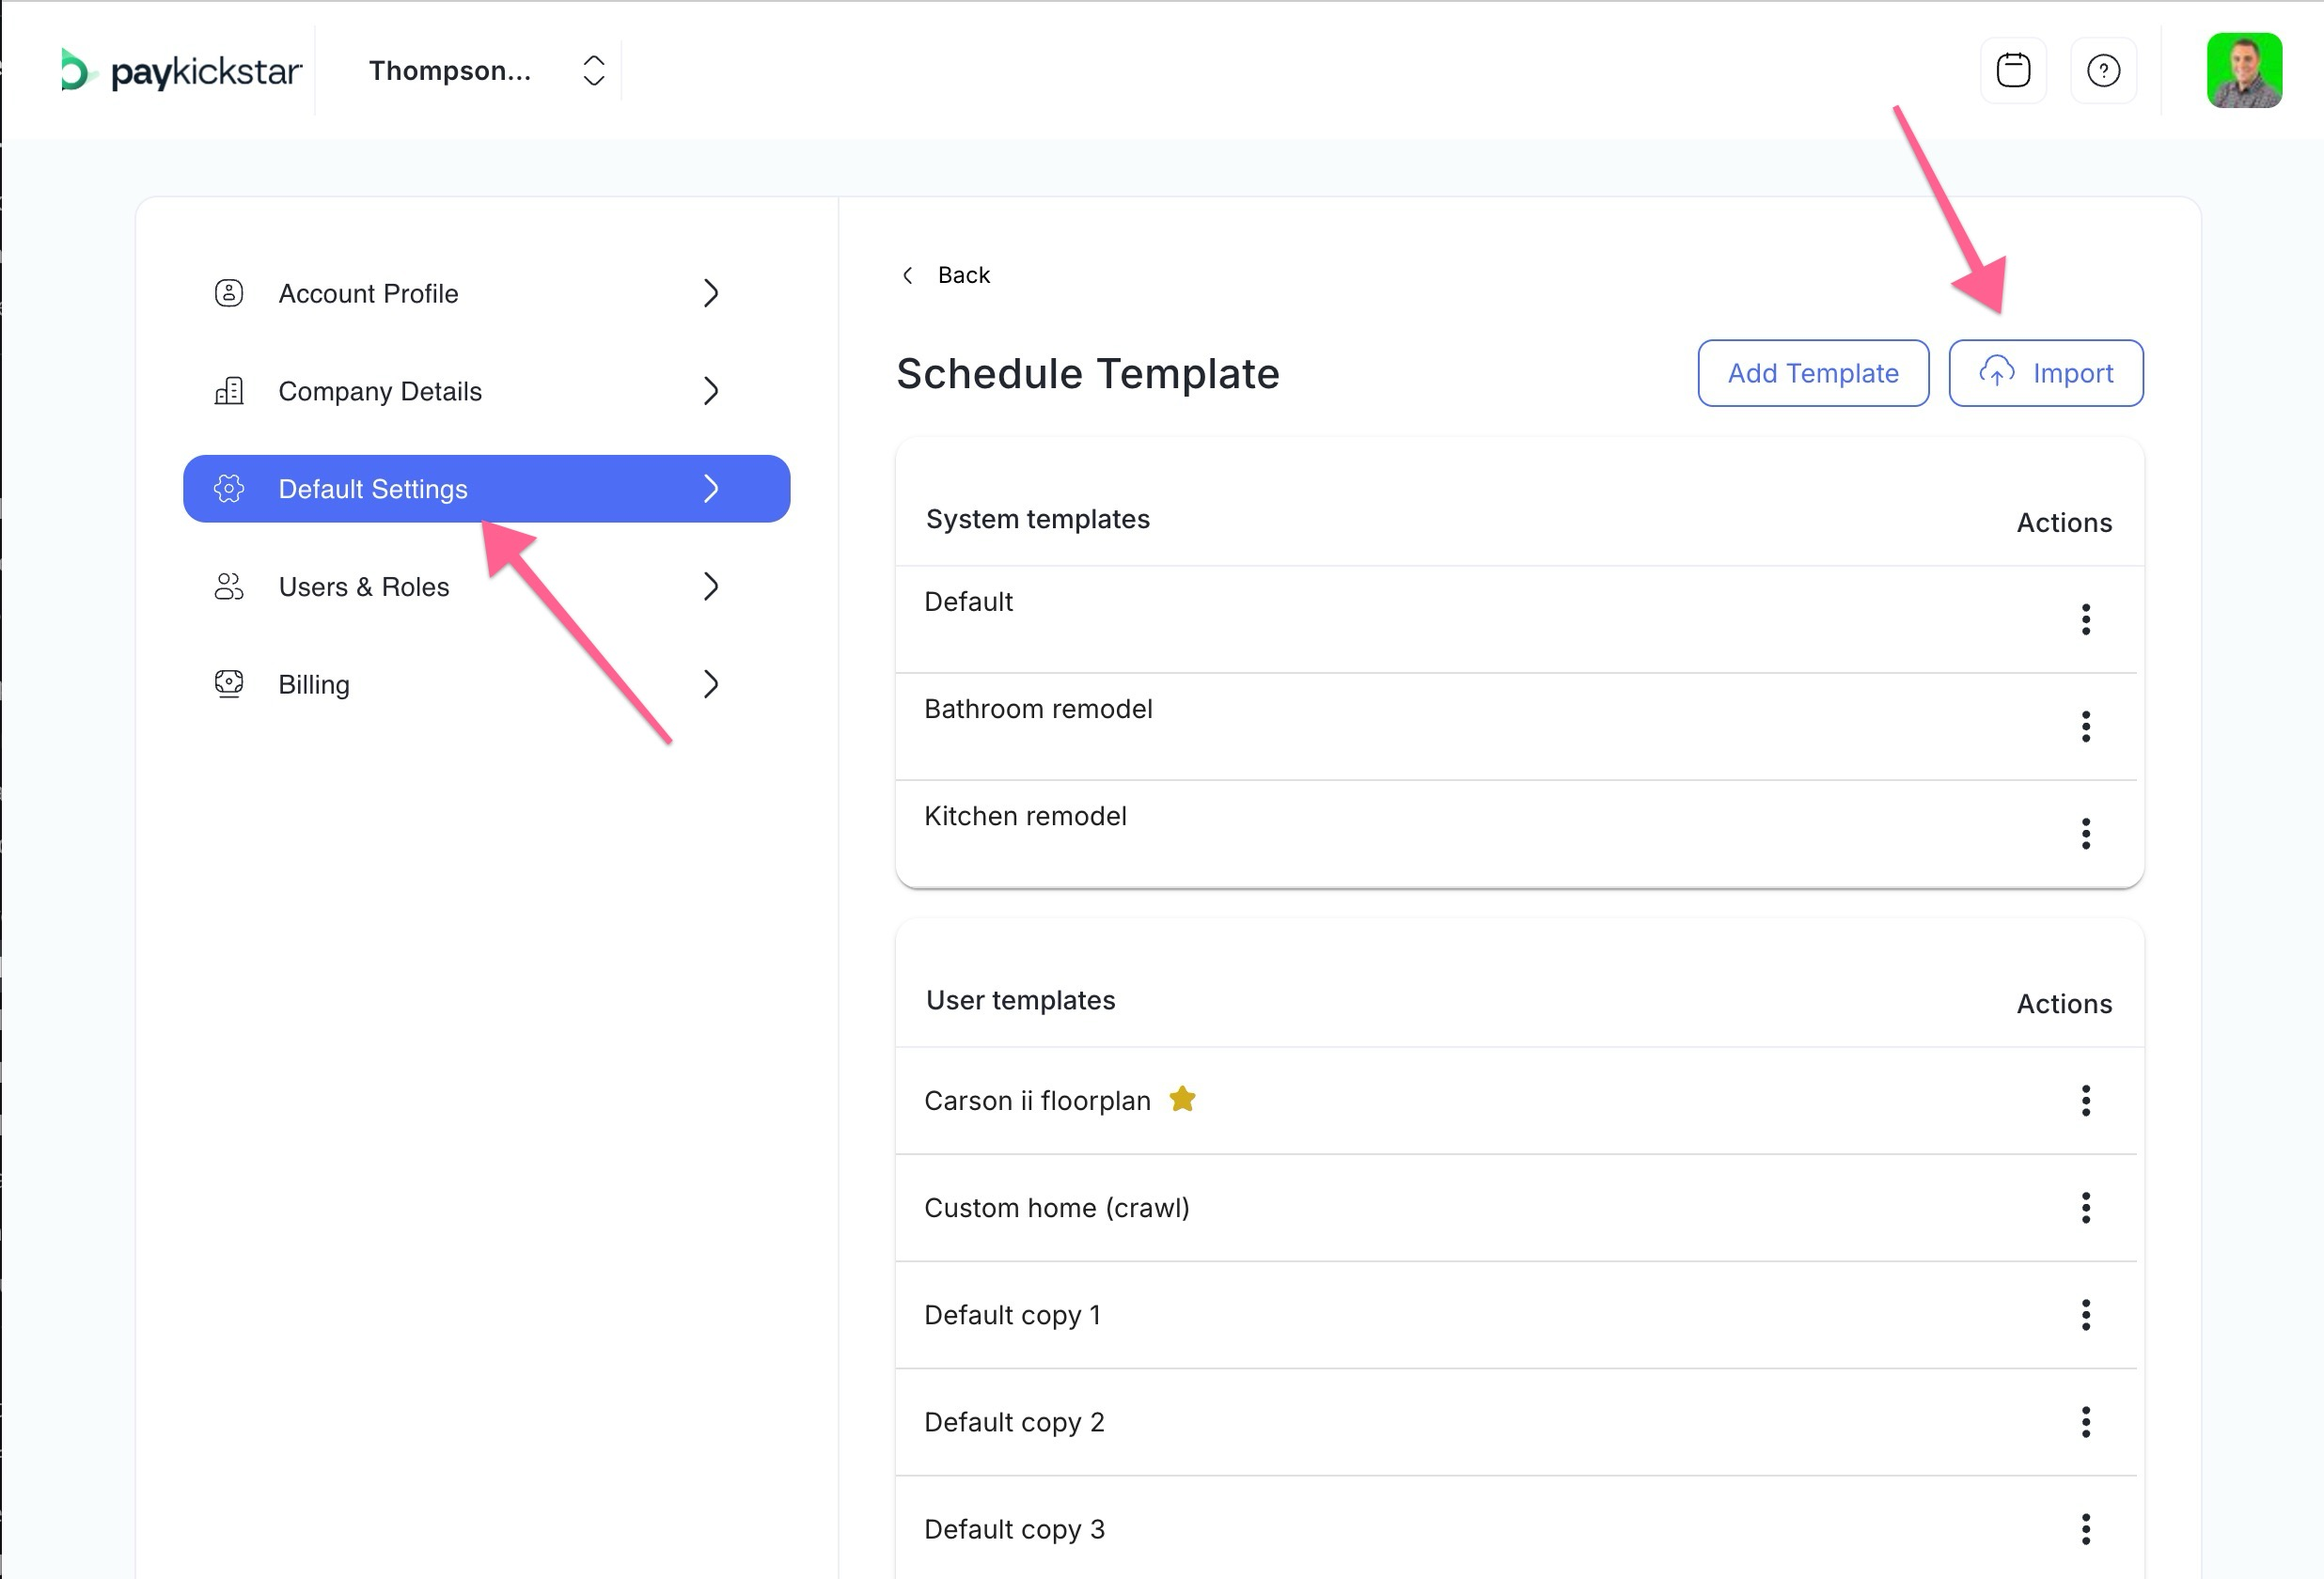
Access your Default Settings by tapping on your profile icon.
Select Schedule Template from the list of options.
In the top-right corner of the section, click the Import button.
Step 2: Prepare Your CSV File
To ensure your schedule data is recognized by the system, it must follow a specific format.
In the Import Schedule Template modal, click the (Example CSV) link.
Open the downloaded file and enter your schedule details into the following columns:
Step 3: Upload and Confirm
Once your CSV file is formatted and saved:
Return to the Import Schedule Template window.
Drag and drop your file into the designated area, or click the Upload button to browse your local files.
Click Next to move to the Review and finalize stage, where you can verify the imported tasks.
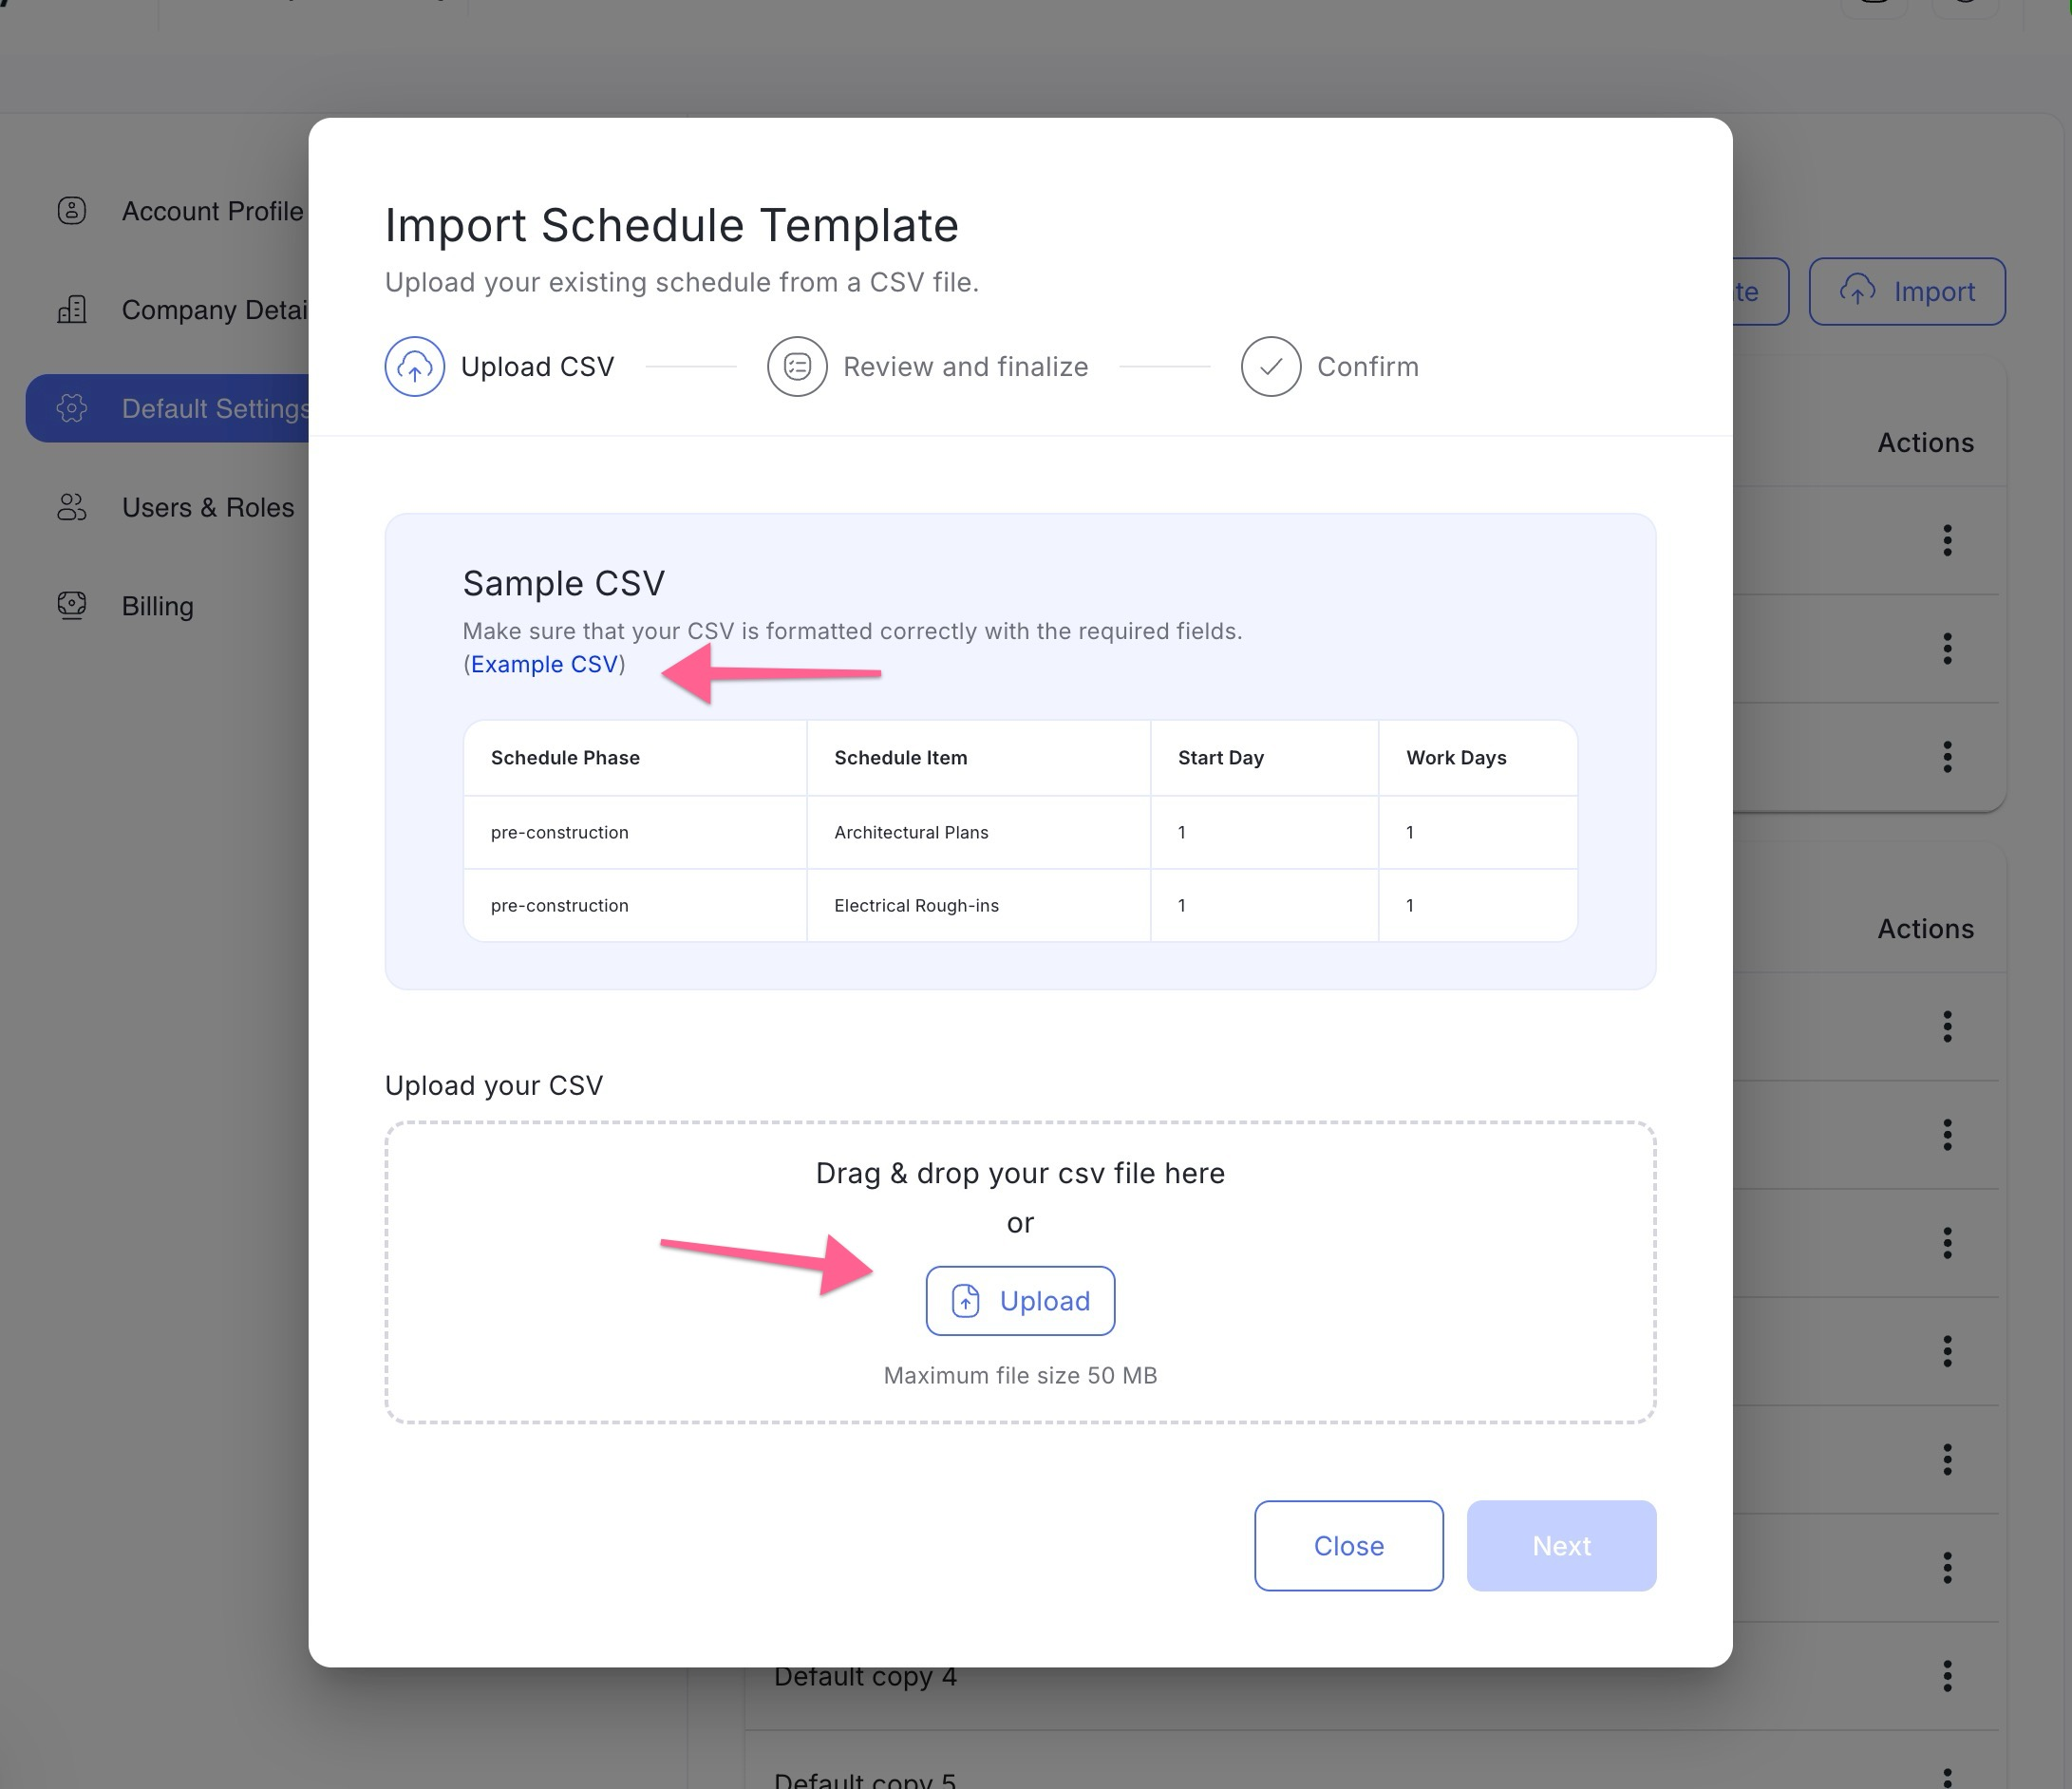
Once satisfied, click Confirm to save the new template to your library.
Please Note: The maximum supported file size for imports is 50 MB. Please ensure your file is saved in a standard .csv format.